Install Flutnet on macOS
Installing Flutnet on your machine involves:
All this setup procedure is intended for people with no experience using Xamarin and Flutter.
Feel free to install these frameworks as you like  .
.
Install Xamarin on macOS
Visual Studio for Mac Setup
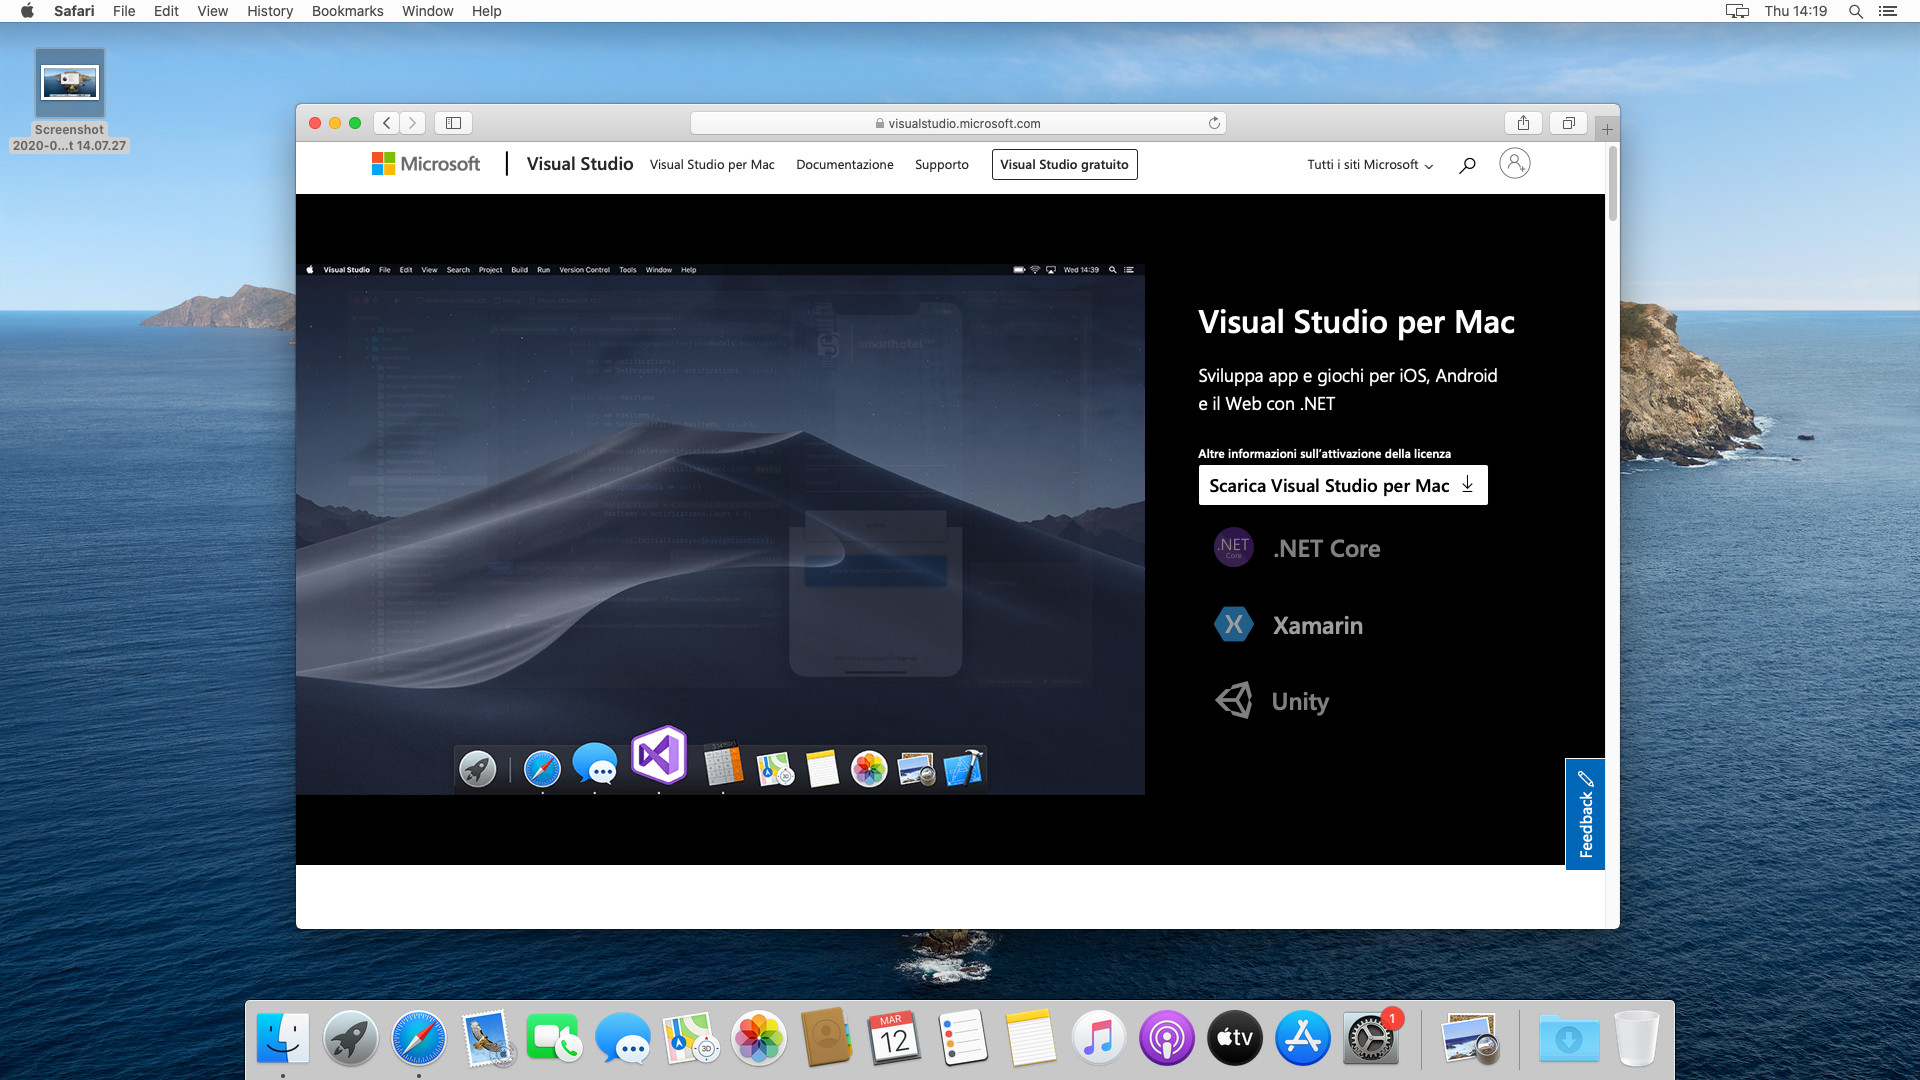
Go to https://visualstudio.microsoft.com/it/vs/mac/ and download visual studio for mac.
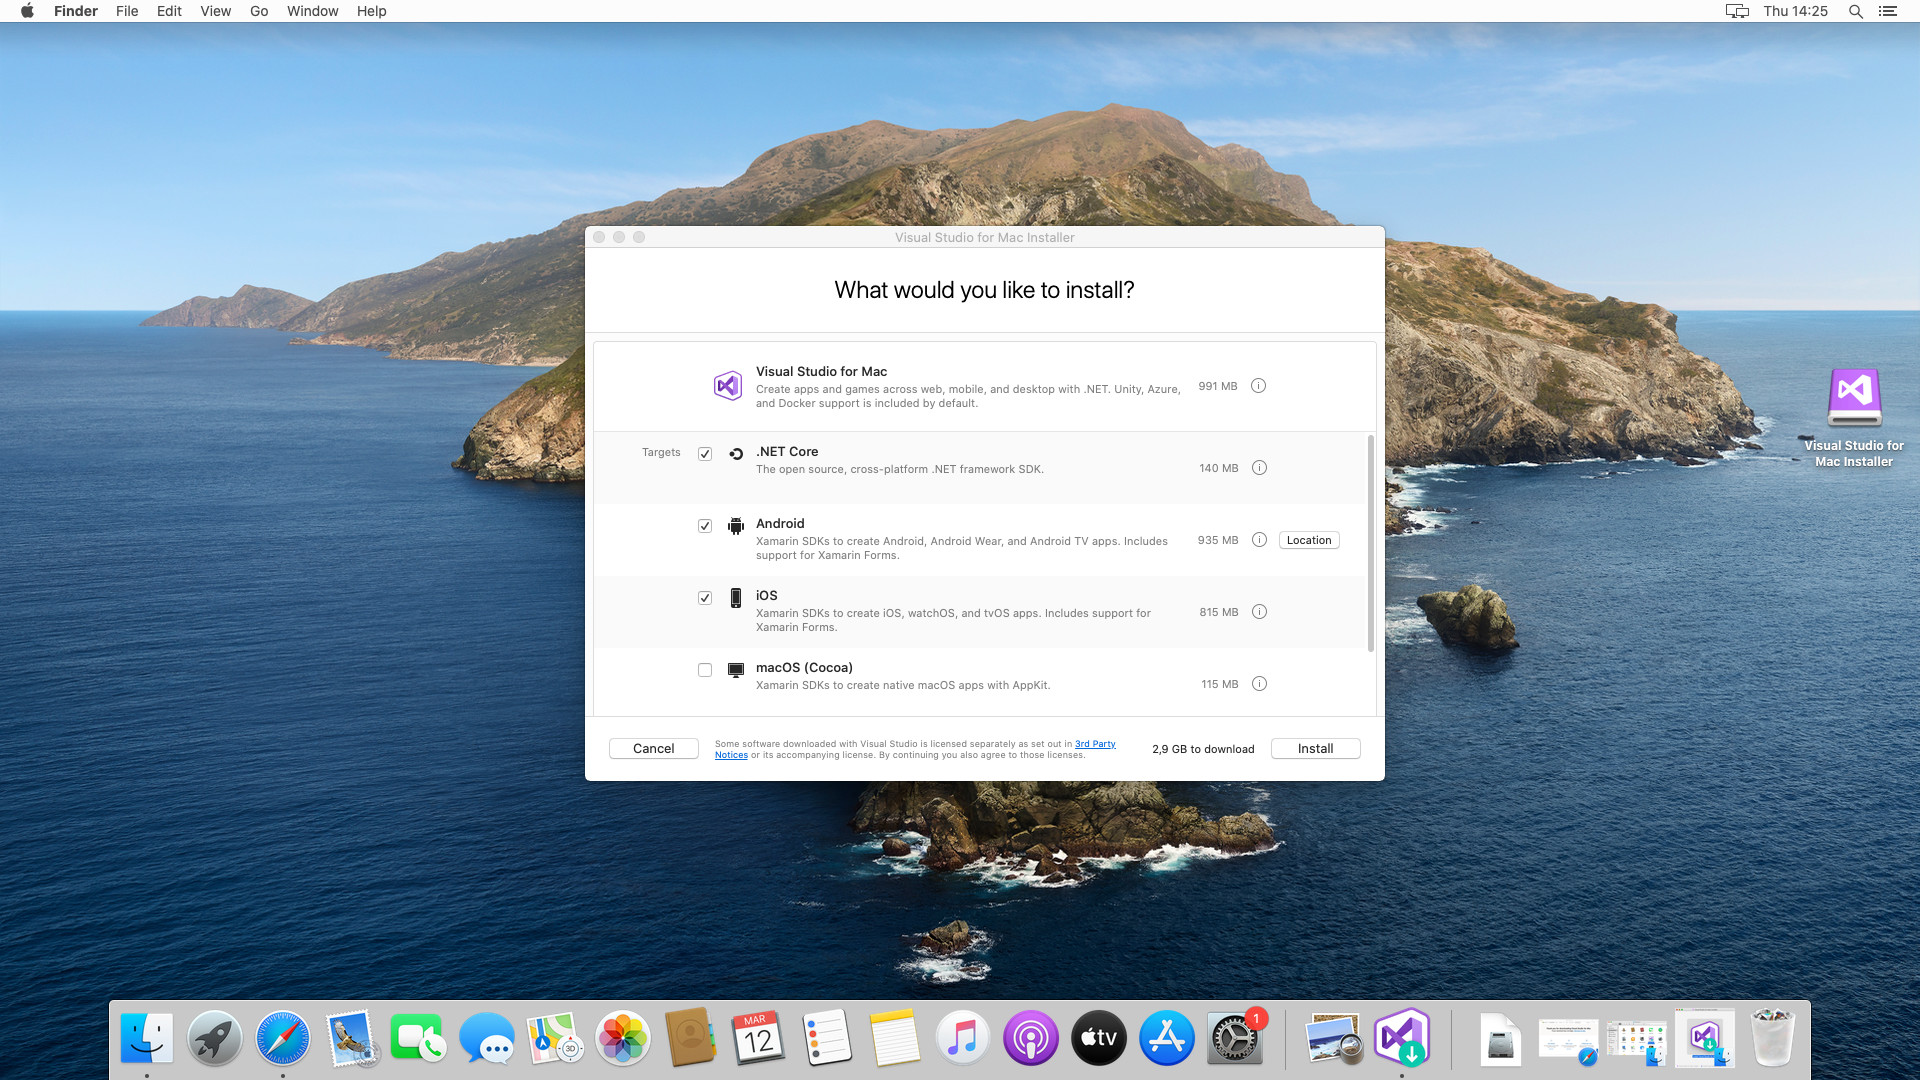
Run the installer and select all the section that you prefer. I selected .NET Core, Android and iOS. After that click install.
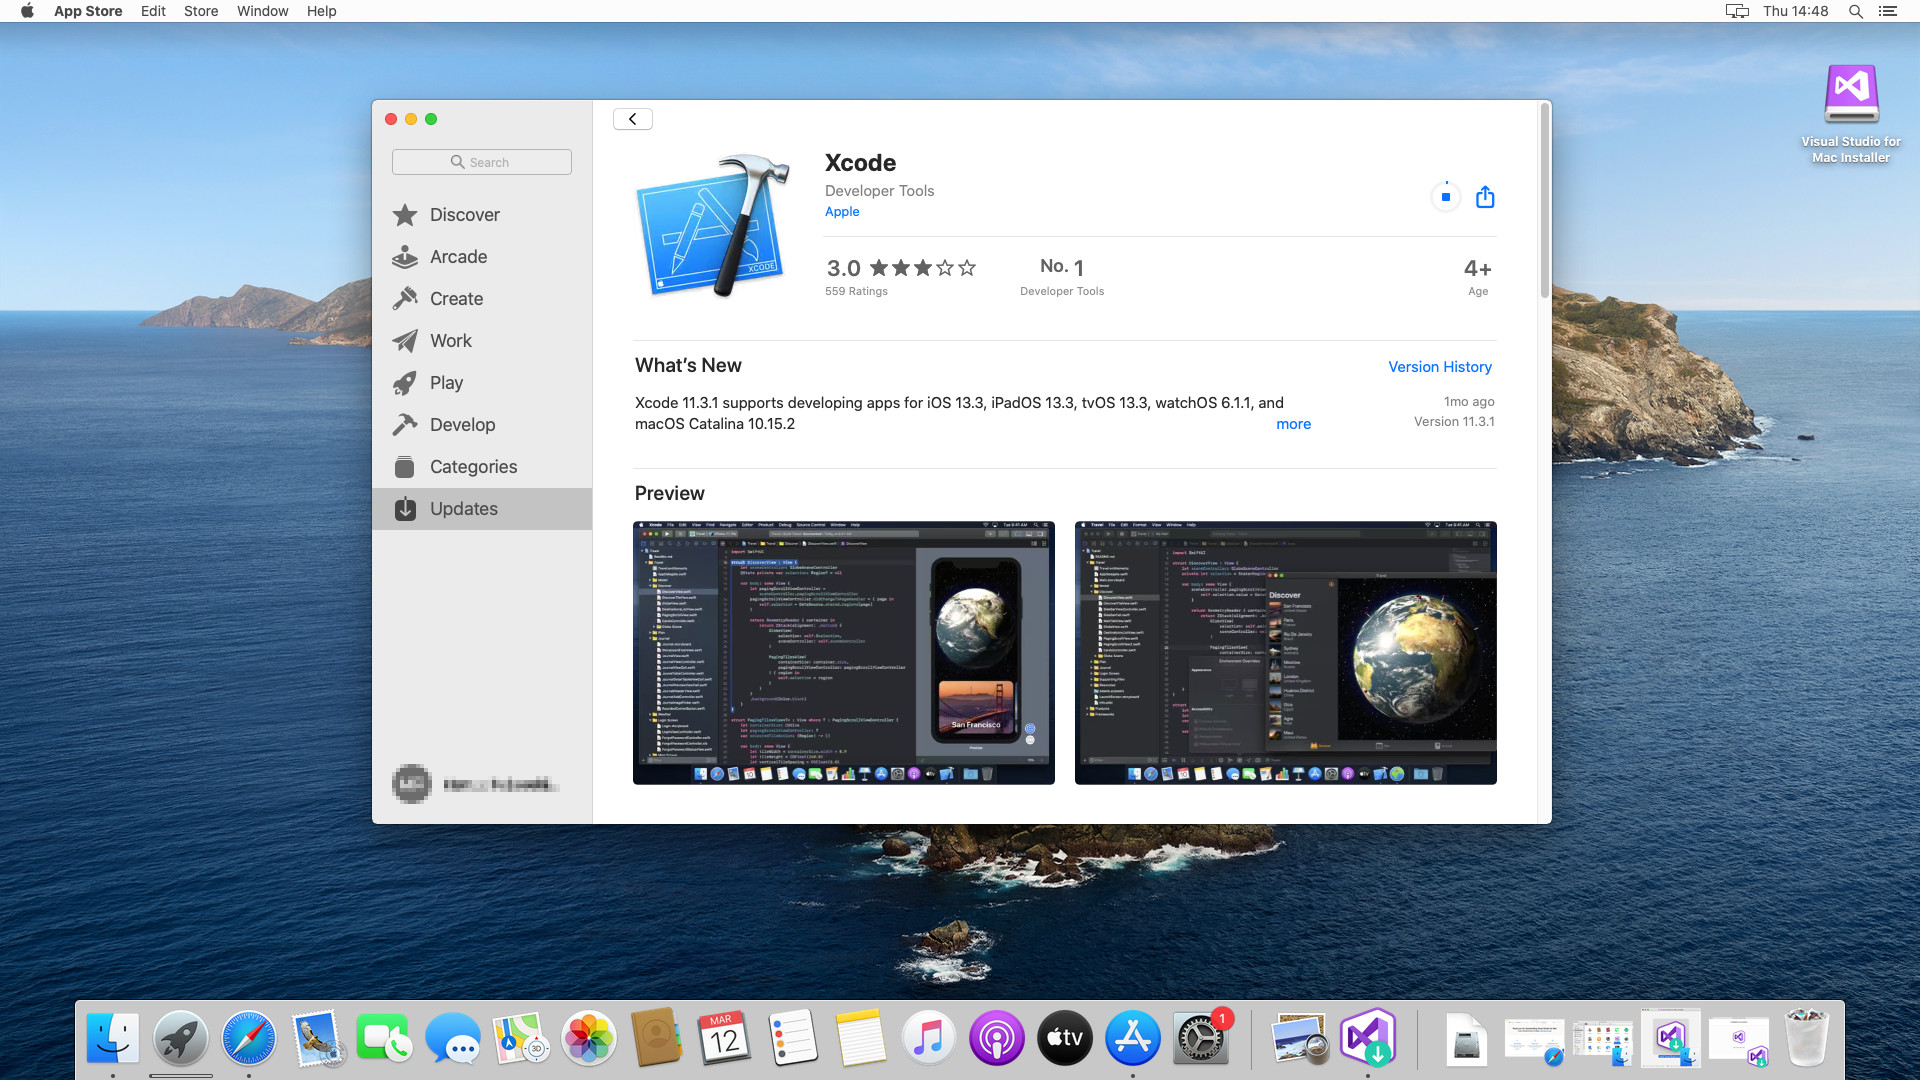
When the installation finish, visual studio will request to obtain Xcode from Apple Store.
Download and install it.
Now we go to check all the Xamarin sdk location: open Visual Studio for Mac and go to the menù:
Visual Studio → Preferences → SDK Locations → Android → Locations
There we will find:
- Java sdk location
- Android sdk location
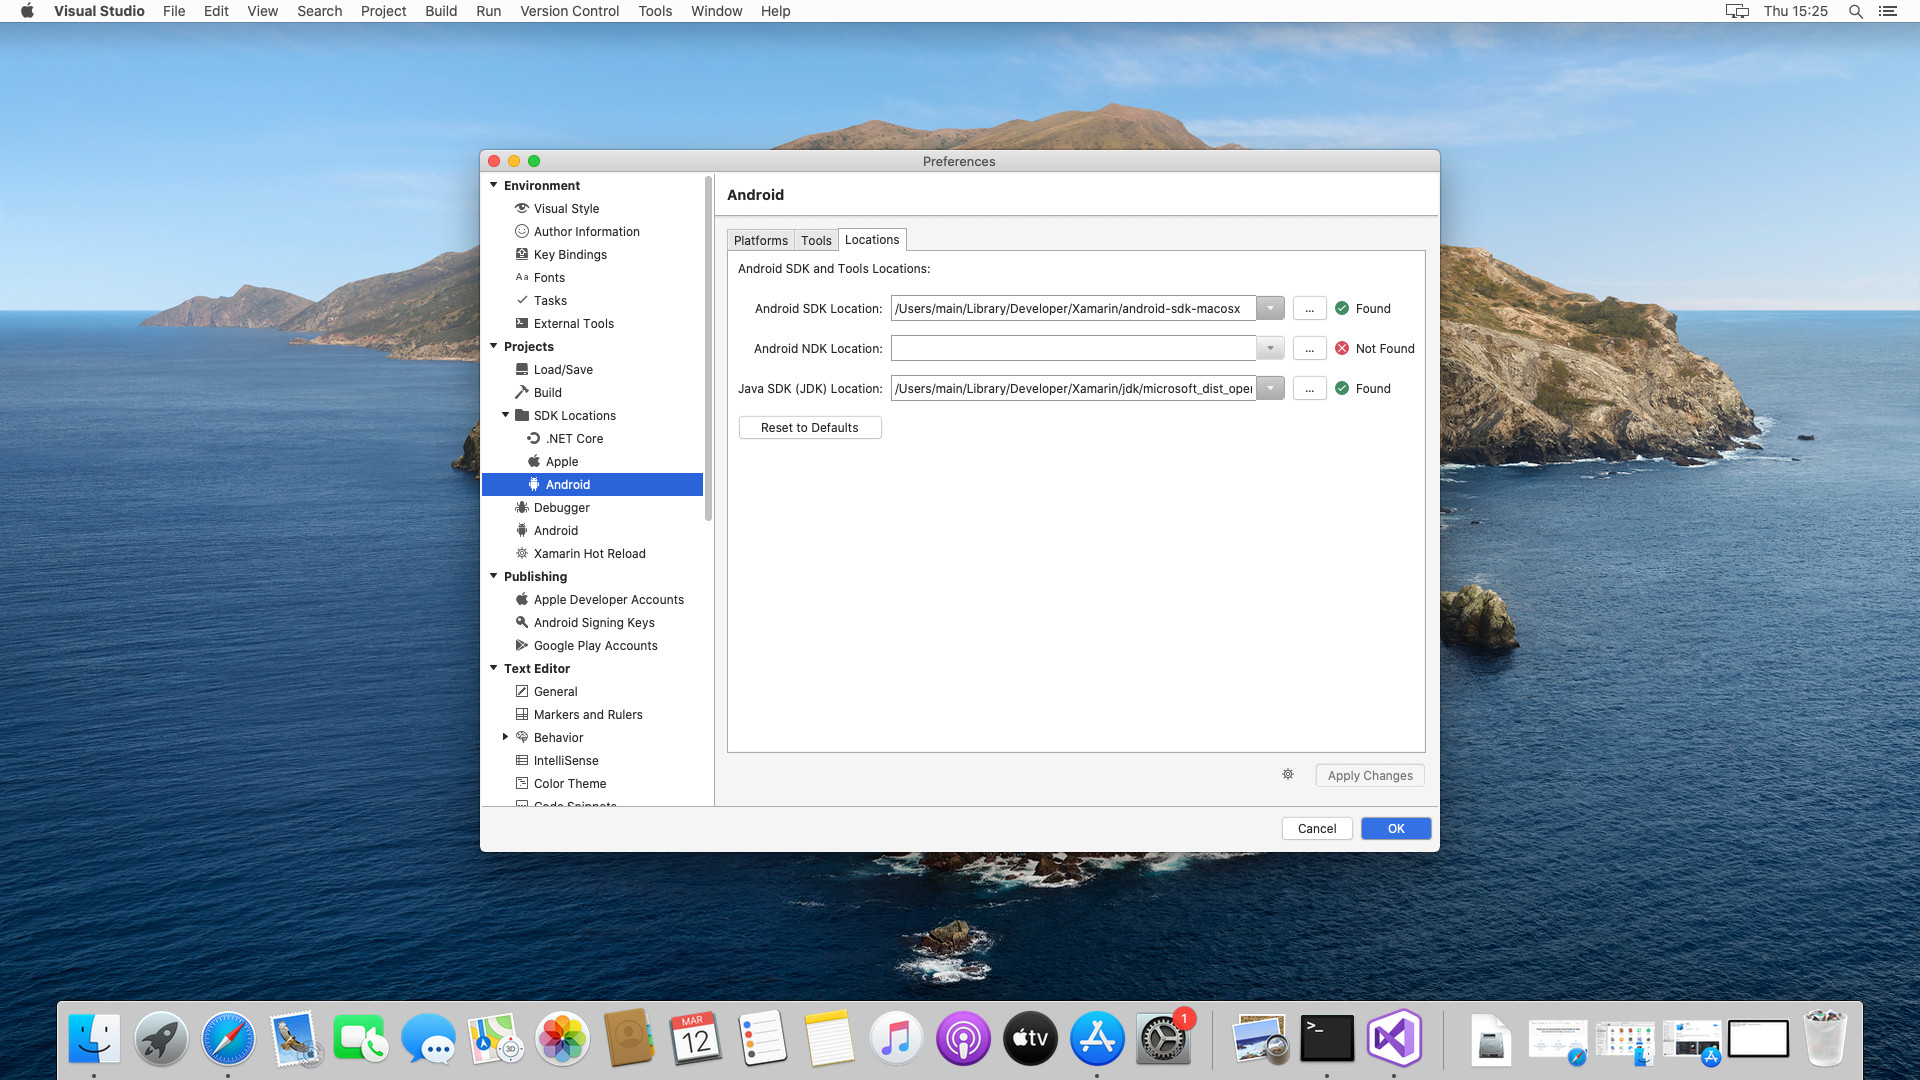
In this configuration, we use the preinstalled Java version released with Xamarin, but you can change it with oracle or other version (remember that Flutter works only with Java 1.8 version).
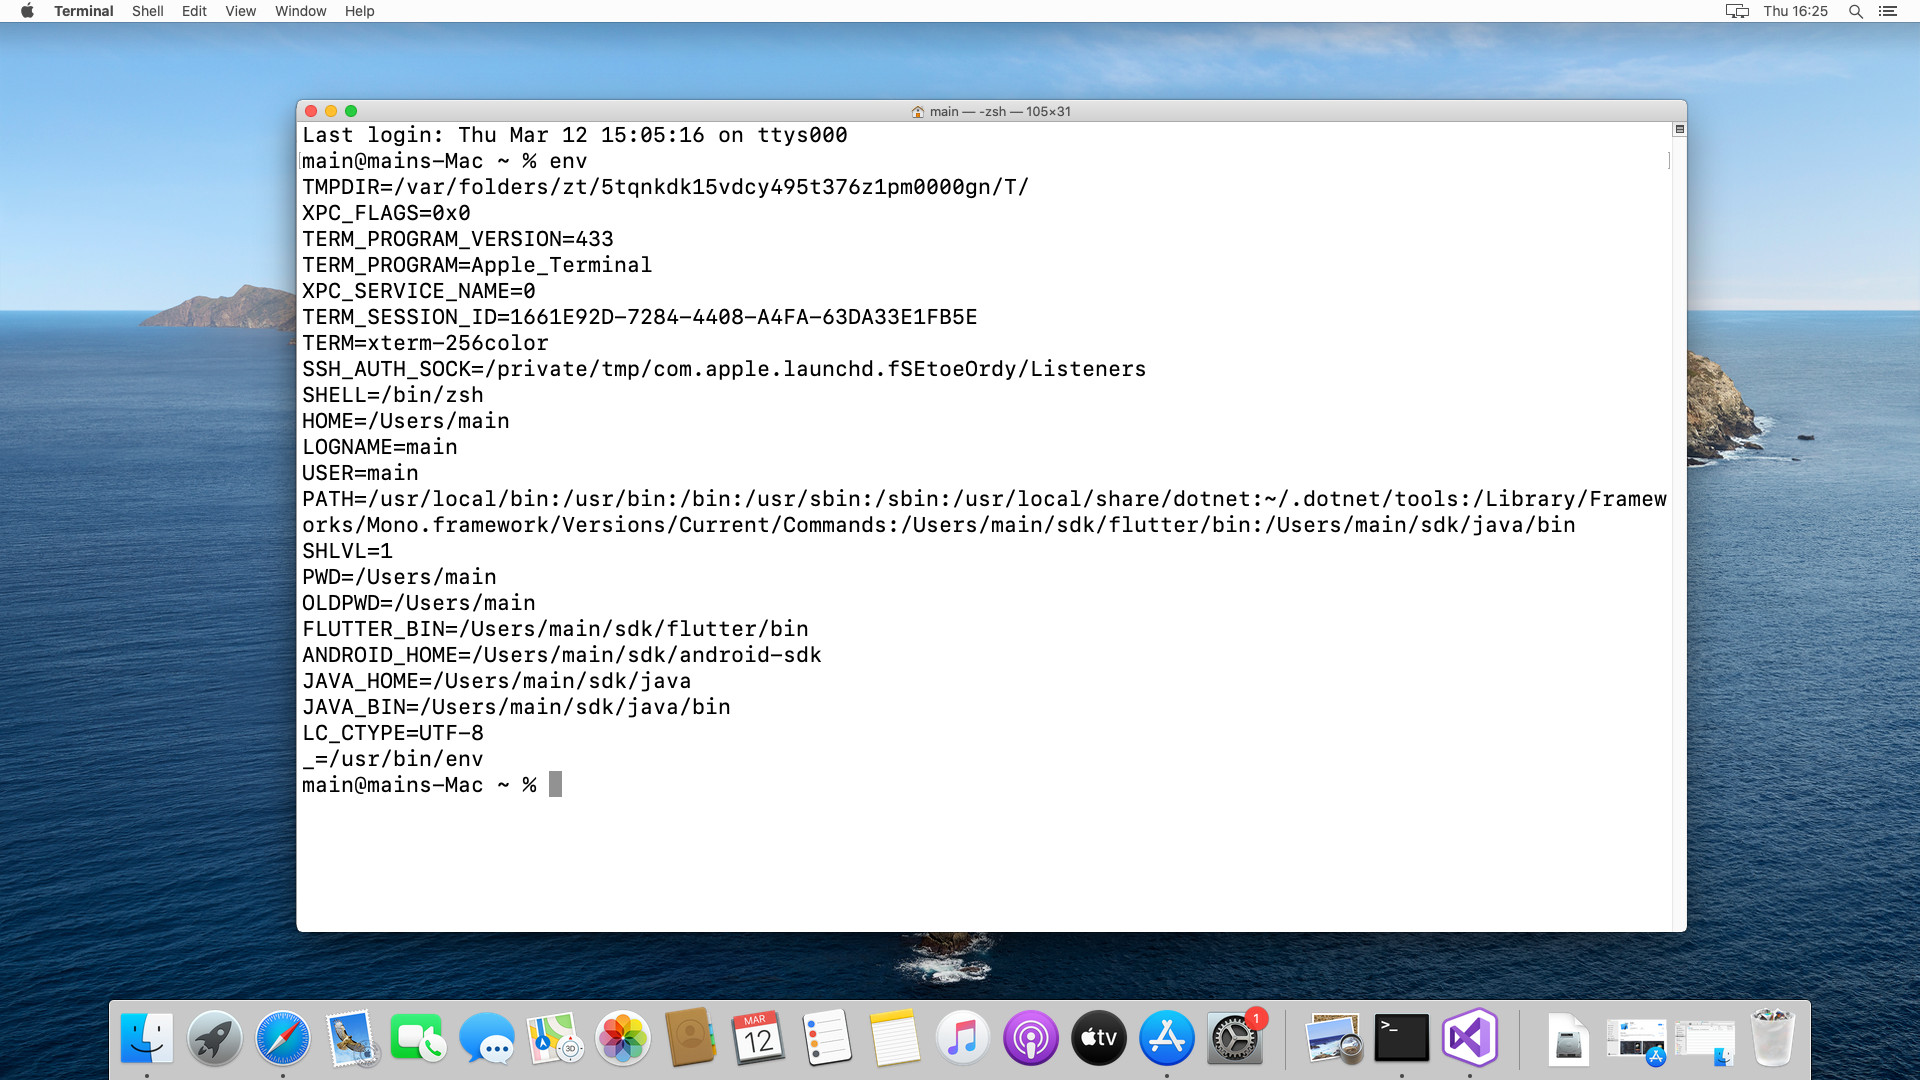
To make sure that Xamarin and Flutter use the same java and android sdk we will set all the necessary Enviroments variable using
respectively for ANDROID_HOME and JAVA_HOME. This two paths will be used during the Flutter setup process.
Now we check the android sdk installation. To do this we use xamarin android sdk tools. From visual studio go on the menù
Tools → SDK Manager
I have installed:
- Android 9.0 Sdk
- Android 10.0 Sdk
For checking if the installation is succeeded try to compile and run an Hello World project for both Android and iOS platform.
The next step is to install and configure Flutter and Visual Studio Code.
Install Flutter on macOS
System requirements
For all system requiremets follow the official guide. See here.
Flutter setup
Download the latest flutter stable version supported by flutnet and extract in your system.
In this guide we use $HOME/sdk/flutter as Flutter setup location (replace this path with your system setup configuration).
Now the important part: setting all the system variables and PATH.
In this guide we refere to the preinstalled terminal emulator in macOS: zsh.
Edit or create the file .zshrc in your $HOME directory.
If not exists create it using the command
touch $HOME/.zshrc
Open the file using your preferred text editor and add the following lines
#!/bin/zsh
# path flutter bin folder
export FLUTTER_BIN=$HOME/sdk/flutter/bin
# path for android home (xamarin)
export ANDROID_HOME=$HOME/Library/Developer/Xamarin/android-sdk-macosx
export ANDROID_TOOLS=$ANDROID_HOME/tools
export ANDROID_PTOOLS=$ANDROID_HOME/platform-tools
# path for java home and bin
export JAVA_HOME=$HOME/Library/Developer/Xamarin/jdk/microsoft_dist_openjdk_1.8.0.25
export JAVA_BIN=$JAVA_HOME/bin
# export path
export PATH=$PATH:$FLUTTER_BIN:$JAVA_BIN:$ANDROID_TOOLS:$ANDROID_PTOOLS
Save and restart the terminal.
To check try to run $ env on your terminal and see the list of enviroment variables.
To check if the PATH is update successfully open a new terminal and try this commands:
- $ flutter
- $ java -version
- $ adb
To check Flutter installation run $ flutter doctor -v
In case of "idevice_id error" see #Error "idevice_id" cannot run on macOS Catalina
If you need to accepts android licenses run on new terminal
$ flutter doctor –android-licenses
and answer yes to all the question.
Error "idevice_id" cannot run (on macOS Catalina)
On macOs Catalina flutter installation can encounter this error message running flutter doctor. This is just reported on the official flutter repository: see cannot run on catalina #42302. To resolve the issues just running this terminal command:
$ sudo xattr -d com.apple.quarantine $HOME/sdk/flutter/bin/cache/artifacts/libimobiledevice/idevice_id
Visual studio code setup - macOS
Go to https://code.visualstudio.com/Download and install the stable version.

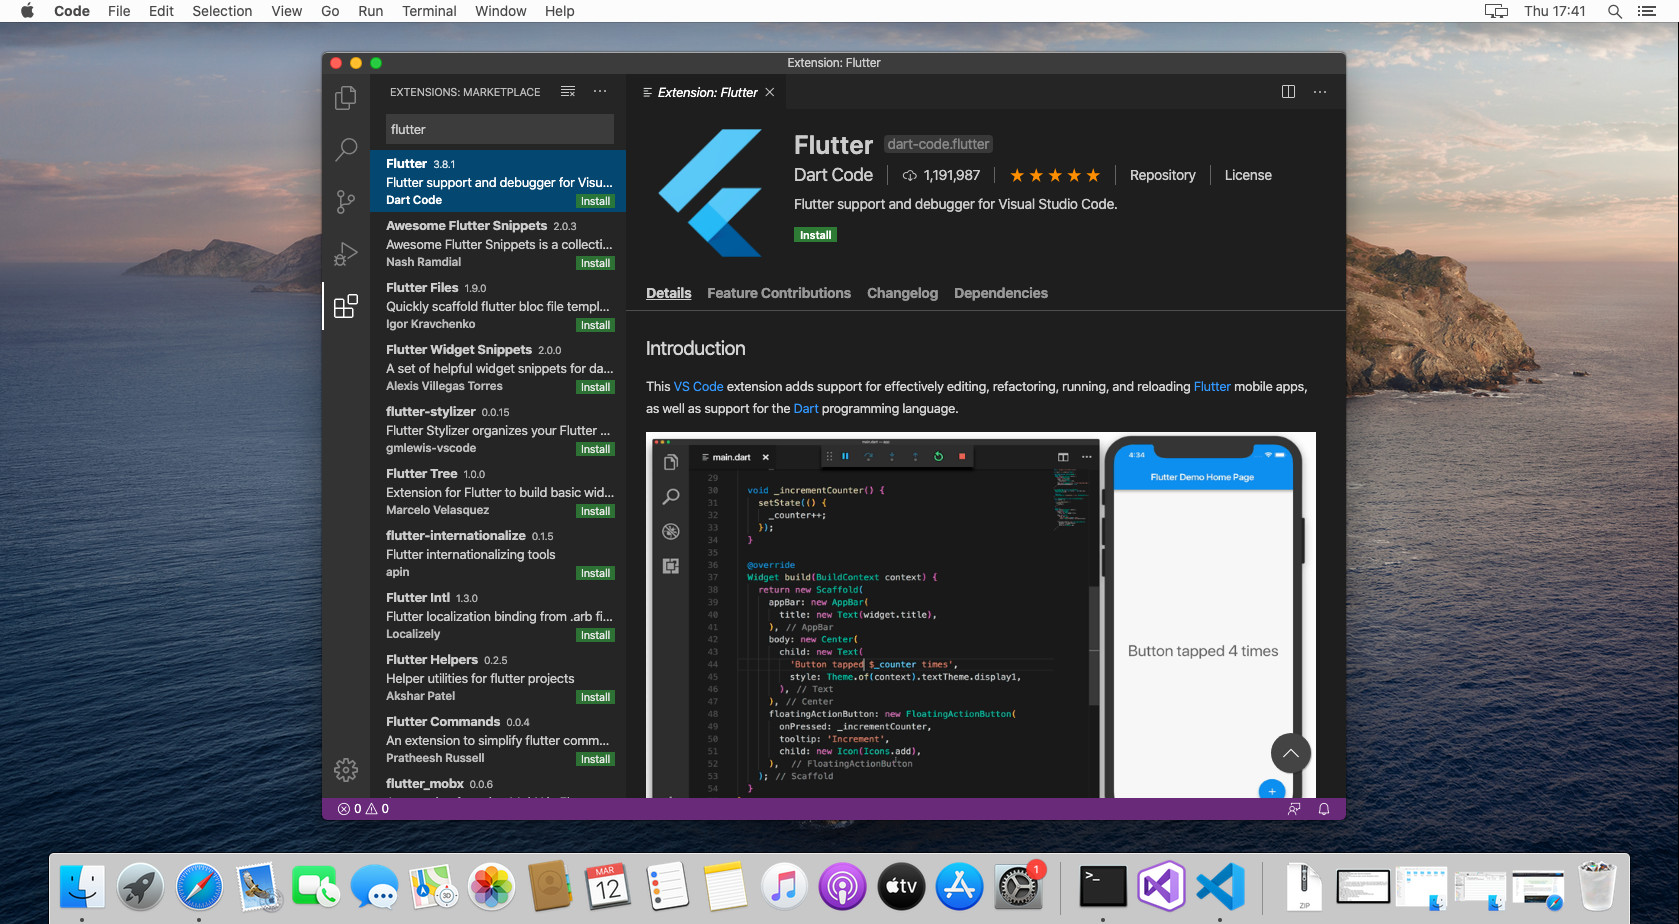
Open Visual Studio Code and add the Flutter extension:
Code → Preferences → Extensions
Search for "flutter" and install it.
Installing Flutnet SDK
First of all make sure that .NET Core 3.1 SDK is installed on your machine.
Then, download the Flutnet SDK from the Download page and follow the setup instructions.
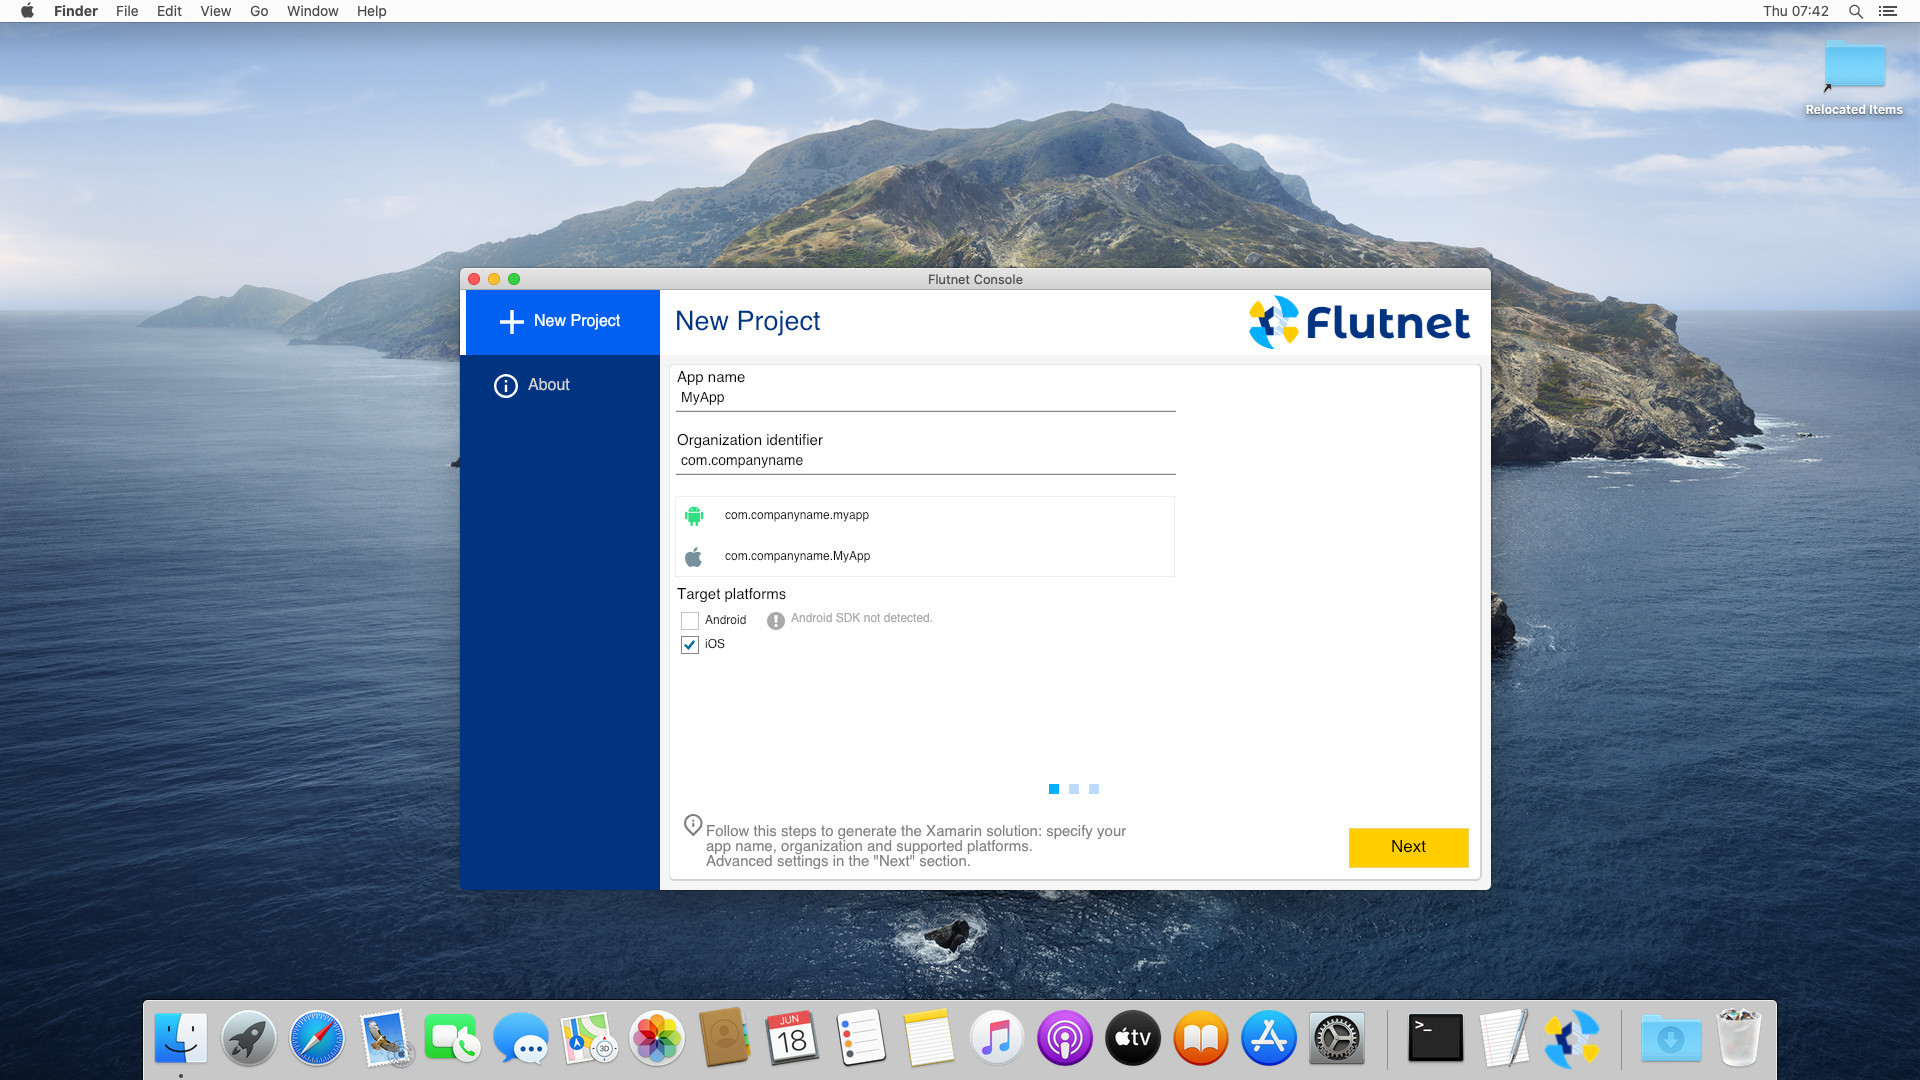
Once the setup is completed, launch the Flutnet Console and create your first Flutnet App.